Complete PS5 Edge Stick Module Setup Tutorial
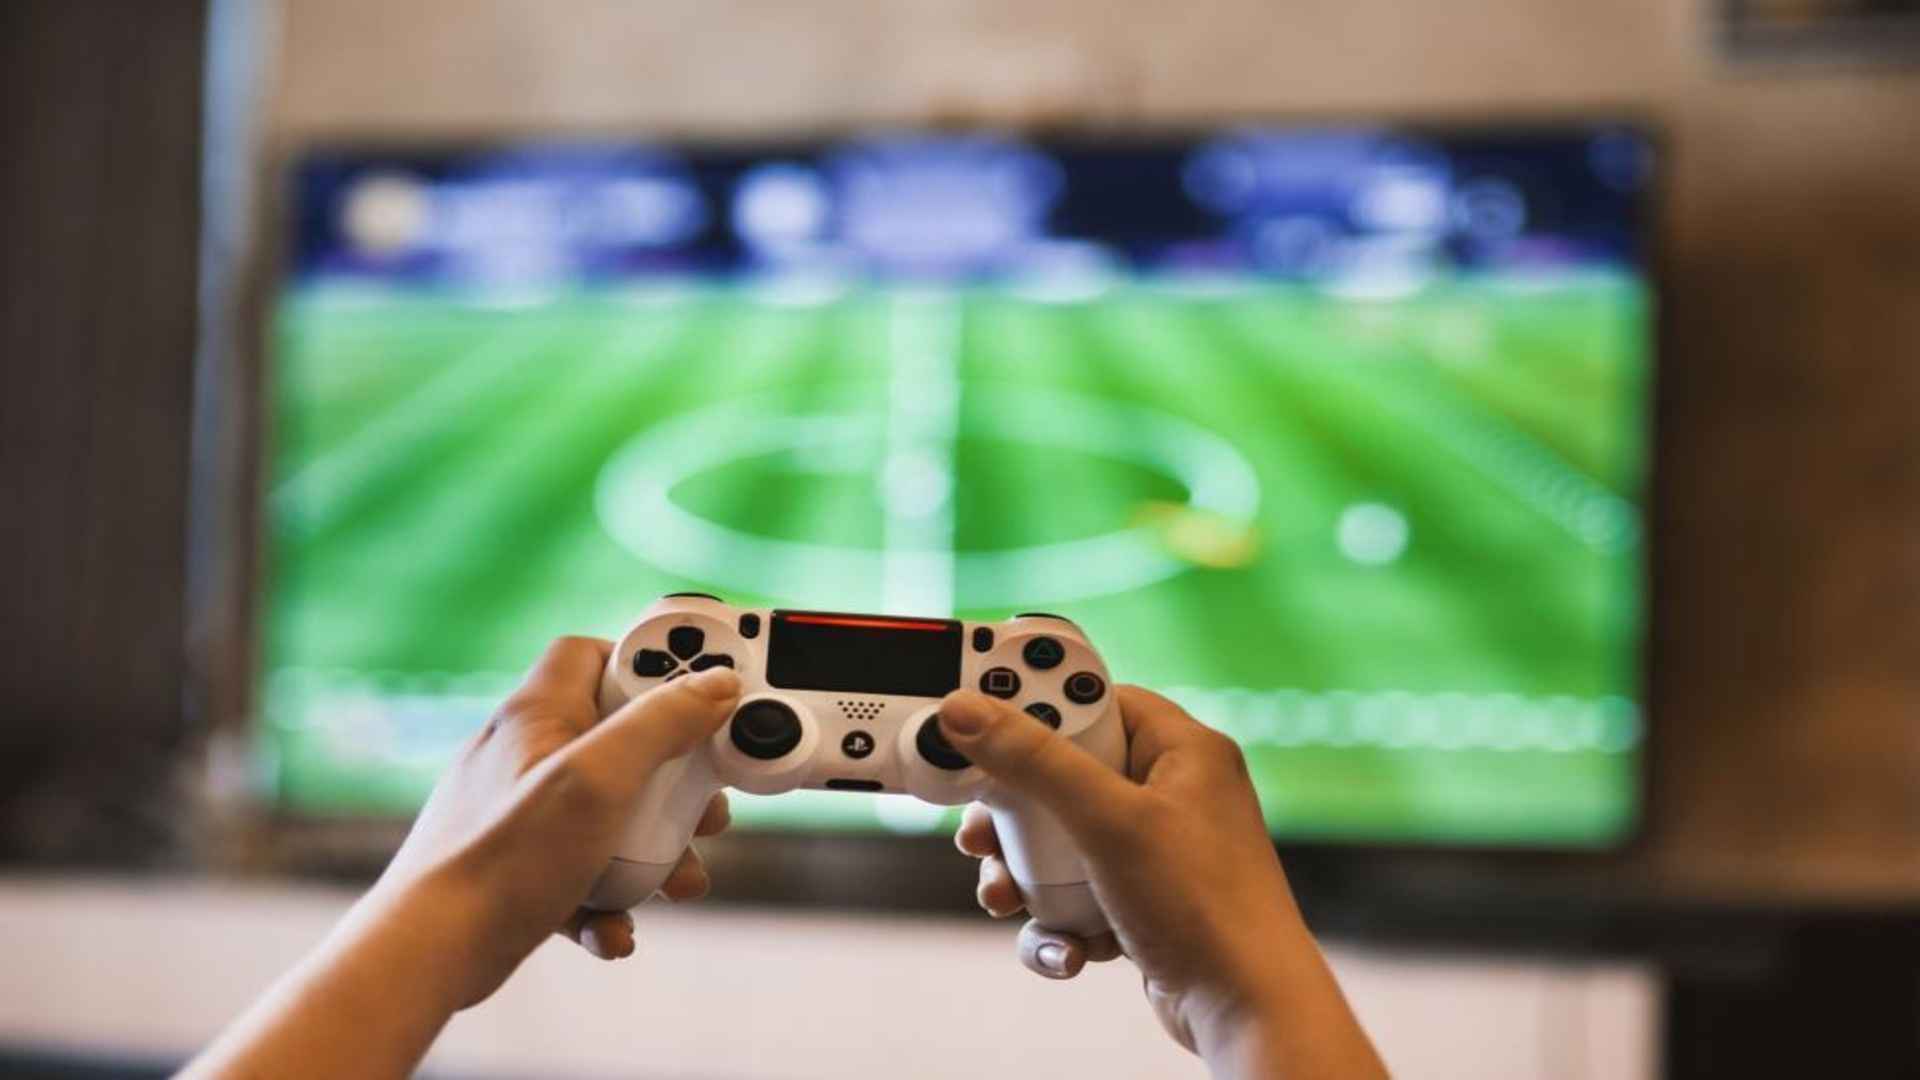
The PlayStation 5 DualSense Edge controller stands out due to its modular architecture, which allows users to swap out analog components when wear occurs. Rather than buying an entirely new gamepad, players can easily refresh their setup by installing fresh components. Understanding the correct procedure ensures that your hardware remains responsive and functions smoothly during intense gaming sessions.
Removing the Old Joystick Hardware
Before beginning the installation, ensure your gaming console is powered down completely and the controller is disconnected from the charging cable. Slide the release lever located on the back of the gamepad to detach the front housing cover easily. Carefully lift the small metal retention lever guarding the affected component to release it from its secure seating.
Once the lever is raised, slide the worn piece straight out of its dedicated track. Avoid using excessive force during this process to protect the internal electrical contact points from physical damage. Keep the empty slot free of dust before proceeding to the next step of the setup tutorial.
Installing the Replacement Component
Align the new hardware piece precisely with the internal grooves located inside the open controller compartment. Gently push the device forward along the track until it sits firmly against the rear connection interface. Press the metal retention lever back down into its original place until you hear a distinct click signaling a locked status.
Carefully realign the front housing cover with the corresponding tabs on the main body of the controller. Apply uniform pressure around the edges until the shell snaps securely back into position. A loose cover can prevent the hardware from registering inputs correctly, so double-check the overall physical alignment.
Calibrating Center and Edge Values
After completing the mechanical installation, connect the controller to a compatible computer using a stable USB data cable. Navigate to a reliable web-based controller testing platform to analyze the initial positional accuracy of the new stick. Hardware variations mean that the center point might require software adjustments to eliminate unwanted character drifting.
Follow the onscreen prompts by keeping the sticks perfectly stationary to register the neutral center values. Next, rotate the analog controllers fully in a circular motion several times to define the maximum boundary limits. Completing this digital adjustment ensures that your in-game movements translate seamlessly across all axes.
Fine Tuning Performance Settings
Once the baseline calibration is successfully applied, disconnect the device and pair it back to your primary console. Open the system settings menu on the PlayStation 5 to access the custom profile configurations for your pro controller. Here, you can adjust the dead zones and sensitivity curves to match your specific playstyle preferences.
Testing different adjustment profiles helps optimize responsiveness for various genres such as first-person shooters or racing simulations. Regularly maintaining the cleanliness of the surrounding analog housing prevents debris buildup from ruining your hardware adjustments. Safe storage away from extreme temperatures will also prolong the operational lifespan of the components.